Saddle Valves – What You Should Know
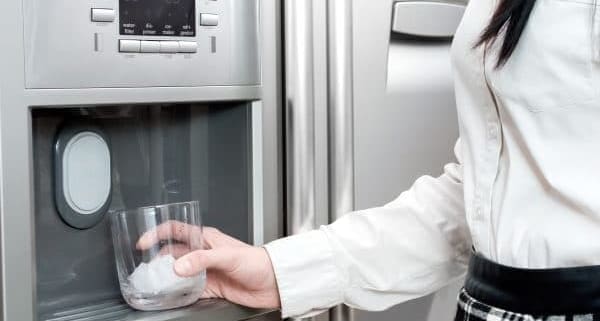
An ice maker and water dispenser on your fridge is a great invention. But you have to ensure you have a good water supply to the refrigerator before taking advantage of it. Saddle Valves are the most common way to get water from a supply to the fridge. Why not? They are fast, easy to install, cheap, and don’t require a plumber. Before installing a saddle valve in your home, here are some things to know.

What Are Saddle Valves?
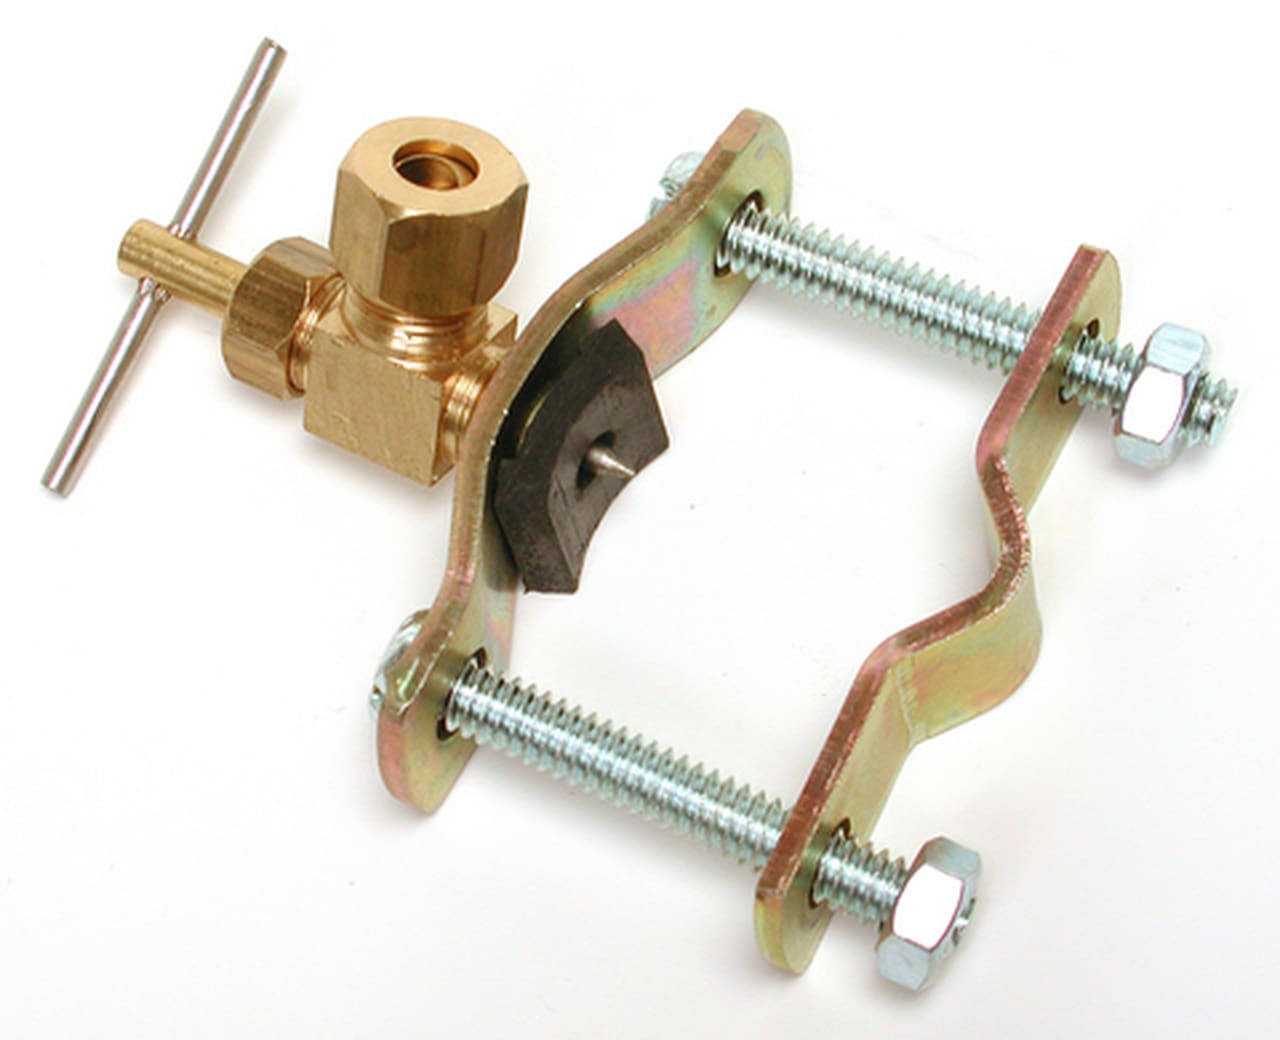
Saddle valves are self-piercing devices that supply a low volume of water to various appliances. A 1/4″ outlet tube is used to supply things like ice makers, water dispensers, and humidifiers.
Pros of Using Saddle Valves
Easy to install- You can have your ice maker up and going in less than 30 minutes.
Does not require special tools- Most kits will only require a screwdriver and pliers or a crescent wrench. However, you may need a drill to make a hole in the floor or cabinets.
Cheap- Most kits will range from $12.00 to $35.00 for a plastic or copper line kit. The Braided stainless steel line is in the range of $14.00 up to $60.00, depending on if you buy the components separately or the whole kit.
Cons of Using Saddle Valves
Prone to leaking- Most valves will leak. They can leak from the rubber gasket. The gasket, over time, will dry out and become brittle. The line can also leak. Lines can become weak at the fittings or rub through on sharp metal. If a leak happens, it can become difficult to repair due to the amount of corrosion.

Photo of 2 of the three saddle valves found in one home during a home inspection.
Not approved to be used by some plumbing codes- Because these valves are prone to leaking, most states and local codes prohibit using a saddle valve. A plumber will not install them. They are strictly DIY devices.
It can only be installed in visible areas- Do not install a valve in a place that a panel or personal belongings will cover. Then, if it leaks, you will never see it until it’s too late.
Additionally, saddle valves have a relatively short lifespan compared to other types of valves. Over time, the valve may deteriorate, causing leaks and reducing the flow rate of water to the appliance.
Part of a lawsuit in 2007
A lawsuit was filed in 2007 in Illinois against Sears. The lawsuit alleged that Sears was using unlicensed plumbers to install refrigerators. The plumbers were using saddle valves.
SEARS FACES LAWSUIT OVER IMPROPER REFRIGERATOR INSTALLATION
SEARS REFRIGERATOR INSTALLERS USING PROHIBITED VALVES
Installing a Saddle Valve
I have included info on the installation of saddle valves because no matter what, people are still going to install them. So before you install your saddle valve, they’re a few things you will need to figure out first.
Location- You will want to find a water supply pipe close to the appliance. If you have a whole house water filter, you will want to be after it. You want an area that will allow you to run your 1/4″ inlet tube as straight as possible to prevent kinking. This location should be in a place that will be easily accessible at any time.
Outlet Tube Type- You will want to use the best material you can afford, ensuring that the water flows freely with the slightest chance of a leak. There are three choices of tubing for your waterline.
Plastic or PVC is the most common use. It is easy to cut, and run, does not require special tools or soldering, and can be run around tighter corners before kinking. Plastic is also the least expensive way to get things hooked up. But there are drawbacks. It is not as strong as copper. It has low abrasion resistance and can be cut or broken easier, commonly at the fittings. Also, some people have claimed that plastic tubes cause a strange taste in their water.
Copper is a great choice. It has higher abrasion resistance, is easy to run, and there will not be any weird taste. Kinking is the most common issue with copper. Kinks happen most often during the installation process. Copper is a bit more expensive than plastic, and you will need tools to install it.
Braided Stainless Steel is the best line but also the most expensive. There are no reports of bad tastes, kinks, or corrosion when using braided steel. It is also the easiest to work with. Braided lines may not come in the length you need.
Installation
After you have chosen the kit with the outlet line type you want and found a good location, the installation process is pretty straightforward.
- Run your supply line from the supply location to the appliance and tighten it. Careful not to overtighten. Be sure to leave a service loop of about 4′ to 6′ behind a refrigerator so you can pull it out for cleaning.
- The supply pipe you will use should be clean and free of corrosion and dirt.
- The T-handle should be turned out so that the piercing needle is inside the valve.
- Then attach the rubber gasket.
- Clamp the valve over the supply pipe and tighten the clamp screws. Do not over-tighten the screws. Over-tightening the screws can deform the line so that it will never seal and leak, no matter what you do.
- Turn down the T-handle till it stops. As you pierce the supply pipe, water will spray out. Just keep turning until the water stops, and you can’t turn the handle anymore. The valve will then be in the closed position.
- Attach your supply line to the valve. Careful not to overtighten.
- Turn the T-handle back out to open the valve. You should hear water going through the line.
- Check for leaks around the valve and the supply line. Be sure the fittings are tight and there are no kinks in the line.
- Let the water run through the dispenser for about three glasses and run through at least one tray of ice to clean out any debris in the line.

Installed saddle valve on 1/2″ copper supply pipe
Final Thoughts
Install at your own risk. These valves will leak at one point or another. They’re many different styles, but none of them is any better than the other. If you want the best installation, call a plumber to install a “T” with a gate valve or ball valve. It will last you a lifetime.
If you would like to schedule your home inspection, you can click on the link or call 715-919-8054


Leave a Reply
Want to join the discussion?Feel free to contribute!